photo Home-01_zps4183128e.jpg              photo AboutJess-02_zps9efae9a4.jpg              photo Email-03_zpsfe60254d.jpg              photo Sponsor-04_zpsad5f9cd7.jpg
Showing posts with label Halloween. Show all posts

Friday, October 4, 2013

DIY Fall Flag Banner

Fall! It's here! And I love it. 

Here in Sin City it's actually starting to feel chilly. Like when I say chilly, it's colder outside than it is inside. This NEVER happens. 

I started going crazy with this being my first fall with a home to decorate! 

I don't have a fireplace mantle to cover with pumpkins and cobwebs, but I do have this ledge that peeks out the kitchen to the living room. It was perfect for all of the decorations I wanted to put there. The only problem is I had none and a teeny weeny budget. So with a little craft party and thrift shopping, this is what you get...


Today I am going to teach you how to make the super cute flag banner for less than $1. For real. You don't want to miss this. 

What you're gonna need:

brown paper bag
sharpie
stapler
jute rope/twine
awesome background music (optional) ((but really necessary))

I started by cutting out a flag shape of the paper bag with some scissors. 


I then attempted cute handwriting and wrote a letter on each bag with a black sharpie. You are bound to have one hanging around the house. 


I took the edge and folded it down to make a hole for the jute to go through and stapled it. 


2 minutes later you are done. Now you can spend the rest of the night enjoying apple cider and a scary movie. During the really scary parts you can look away at your new homemade fall decor! I wrote "HAPPY AUTUMN" on mine so I can keep it up until Christmas, but you can write whatever your little heart desires. 


Happy Friday!

Follow on Bloglovin

Wednesday, October 2, 2013

October Time Crafternoon

October is here! Time to bring out the scarves, cardigans, costumes, and pumpkin flavored EVERYTHING! Okay, confession time.. I have been burning my B&BW Pumpkin Latte candle and eating pumpkin cupcakes, pumpkin doughnuts, pumpkin spice hershey kisses, and pumpkin cookies since the middle of September. I couldn't help myself! Even though the weather here in Las Vegas is still warm enough for me to lay out by the pool, I am trying to create my own season of fall. I can't get enough of fall and Halloween! Oh and Hocus Pocus! Can't wait to watch it.

So with that said, I thought I would share some of the October/Fall love with a quick crafternoon pumpkin tutorial. (What's a crafternoon you might say? It's simply crafting in the afternoon. Or any time really).


What you need:

Tacky Glue
Glitter
Plastic Pumpkins
Paint
Small Foam Brush


So my pumpkins started out looking like this. Not so pretty. Of course I thrifted them for cheap.

I started by cutting off the awful leaf and curly bit. I then used an old brush to paint on tacky glue. I used a paper bag underneath to reuse the extra glitter because when you're using glitter, it's gonna get messy. I went for a gradual ombre type look for this pumpkin.


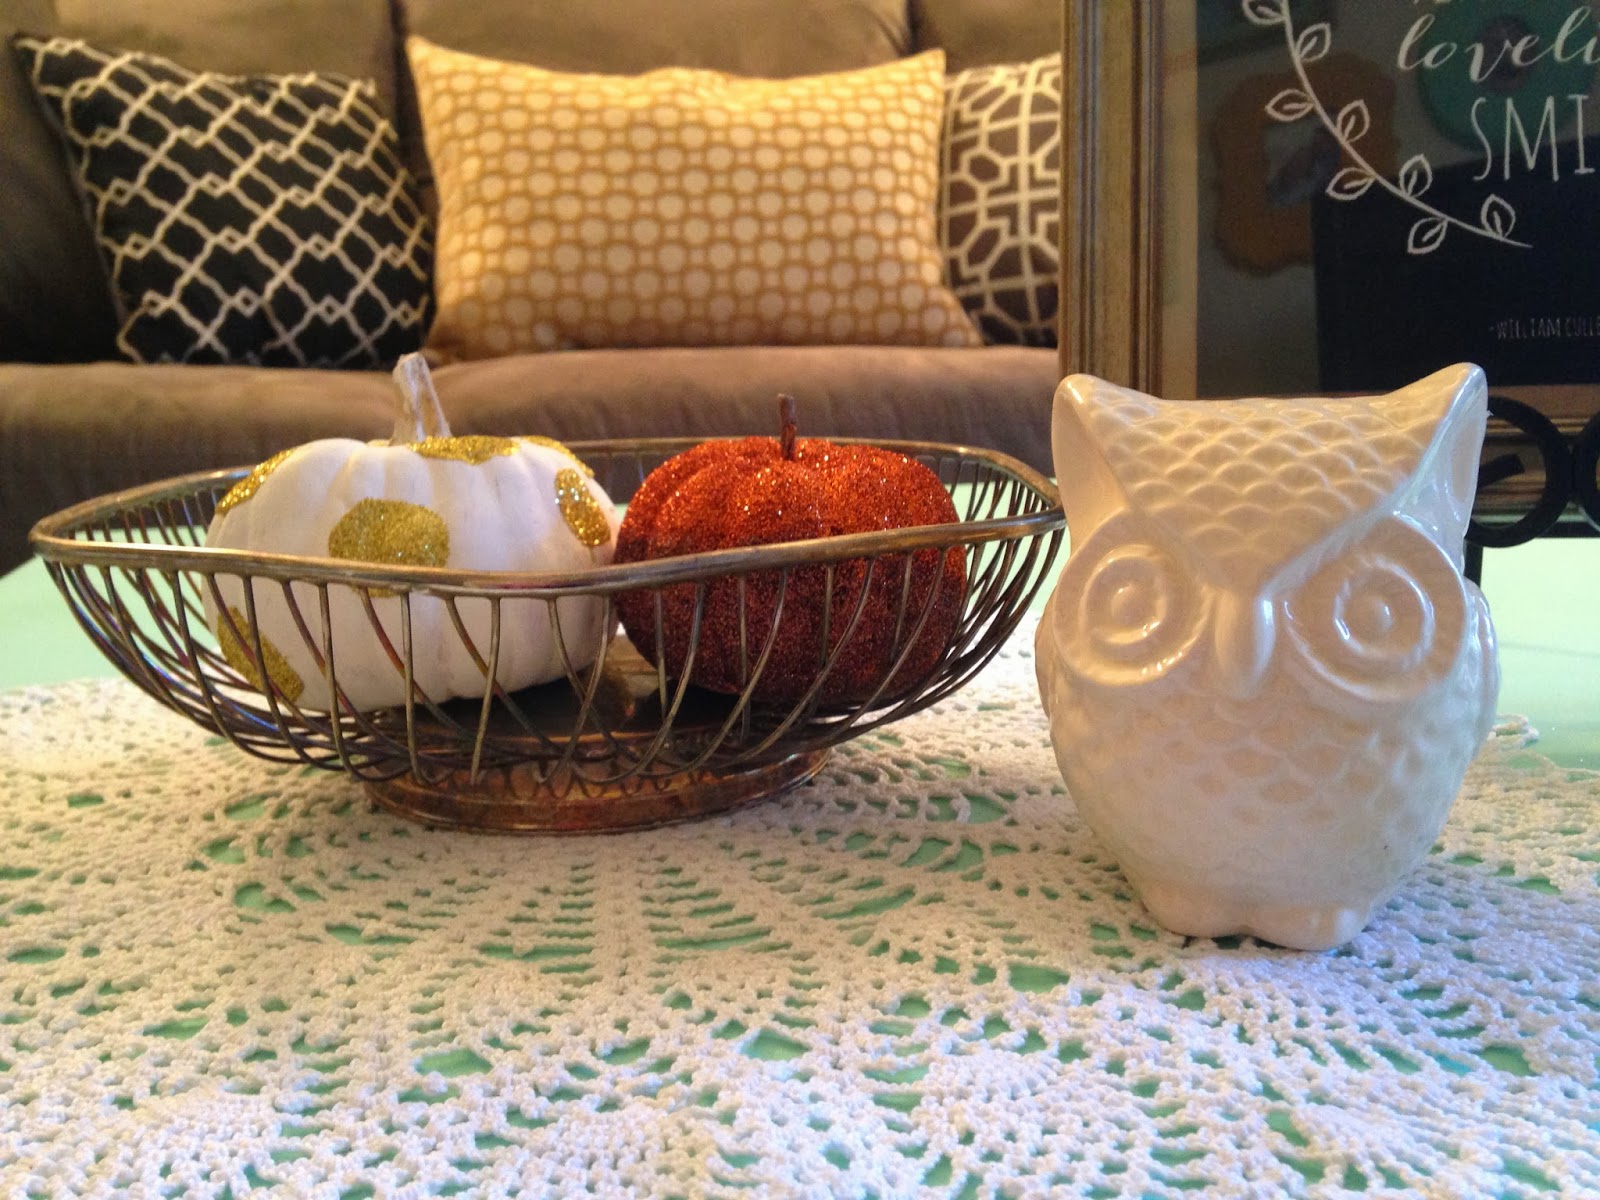
For the other pumpkin, pictures didn't really happen... My bad. It was easy enough to cover the pumpkin with a few coats of white paint. I then applied the tacky glue in a circle on the pumpkin, sprinkled with glitter, and bam.. Two chic pumpkins right in time for the holidays.


Stay tuned for more Halloween tricks and treats!


Follow on Bloglovin
Related Posts Plugin for WordPress, Blogger...