photo Home-01_zps4183128e.jpg              photo AboutJess-02_zps9efae9a4.jpg              photo Email-03_zpsfe60254d.jpg              photo Sponsor-04_zpsad5f9cd7.jpg

Wednesday, October 23, 2013

Fake it til' You Make It-- Chalkboard Handwriting and a Sloth

You guys! I can't draw. Like me plus a pencil equals a disaster zone. For reals though. It's bad. So for my wedding I thought it would be adorable to adorn the reception with chalkboards since it looked so easy on pinterest.

After painting the board to my liking, I held the chalk in my hand and just sat there. For a long time. I was like okay... now what?

But then after a little research and inspiration T H I S happened...


Ummm yea I was proud of myself. But how the heck did this happen. I mean after all, I KNOW I have bad handwriting.
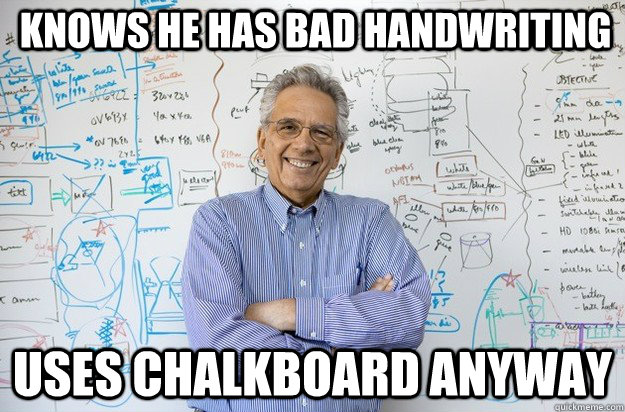

Well my friends, I am going to let you in on a little secret. It's called inspiration. I pulled up a hodgepodge of some of my favorite chalkboard designs, handwriting, and even fonts I liked. Somehow, my imagination took over, and I created a masterpiece. [Okay maybe not a masterpiece. I like to exaggerate a little sometimes.] 


If you just type chalkboard into pinterest you can get soo many good inspiration ideas. You can also check out my Wedding Inspiration page on my Pinterest. If you aren't following me, shame on you! I'm joking. But really. Do it now here http://www.pinterest.com/jessicazylks/boards/. You won't regret it. 


At the end of all my posts I always get this weird urge to say 'DUN DUN DUUUUUN' like the adorable sloth in The Croods.


If you haven't seen it, you must. Here is the little clip of him saying it. 


Yup. That just happened. 

Sloths and a DIY. 

Your hump day is now complete. You're welcome. 


Friday, October 18, 2013

Polka Dots for Days-- DIY Coffee Table Tray


Hello! 

I hope you are all going out tonight to a pumpkin patch while eating carmel apples! Cliff and I will be going to a foodie fest here in Las Vegas with some of the top food trucks in the nation! I'm stoked. 

I am also stoked to share this super easy and adorable DIY project. Cliff and I recently got this coffee table for FREE. Immediately after receiving it I knew I wanted to put a tray on it. After searching for the perfect one, I wasn't satisfied with how they looked or the price tags on the trays I loved. I decided to do what I do best and craft one! 

So here we go! I scored this tray at goodwill for a couple bucks. It was black to begin with. It wasn't ugly, but I wanted to spruce it up a bit. I started by using some left over primer from my desk to entertainment center redo found here if you haven't seen it. Zinsser cover stain primer is my personal fav. This just covers up the black and allows for the paint to stick. 

I decided to do white and gray so I painted a few coats of paint. I just used craft paint, but any type would work. I taped off the edges of the white just to give it a clean look before I painted the gray.


Then I used a round foam brush to polka dot away! I started one row at a time. NO formal measuring required, just a good eyeball to make sure it's even.


I wanted it to look a little worn with love so I used sandpaper to sand the actual dots and the corners and edges of the tray. 


I topped it off with some flowers, a thrifted old book, and a candle. Tada! Project complete!


Tuesday, October 15, 2013

Consignment Stores-- My Inspiration of the Week

Consignment stores.

What do you think when I say that? 

This week, I think iNSPIRATION! 

I went home to visit the family this weekend and we ended up stopping in St. George, Utah at the most adorable shop I have every seen. Have any of you shopped at Urban Renewal?? It is the most unique store. I fell in love. And when I say love, I mean like drooling, can't get it off my mind after I leave, twitter-patted, real love. Whew! Glad I told someone about that. 

The only thing I am disappointed with is myself. Why do I forget to take pictures of things I love? I could never tell you. But I did catch a few pictures of my FAVORITE pieces that I will share with you today. 


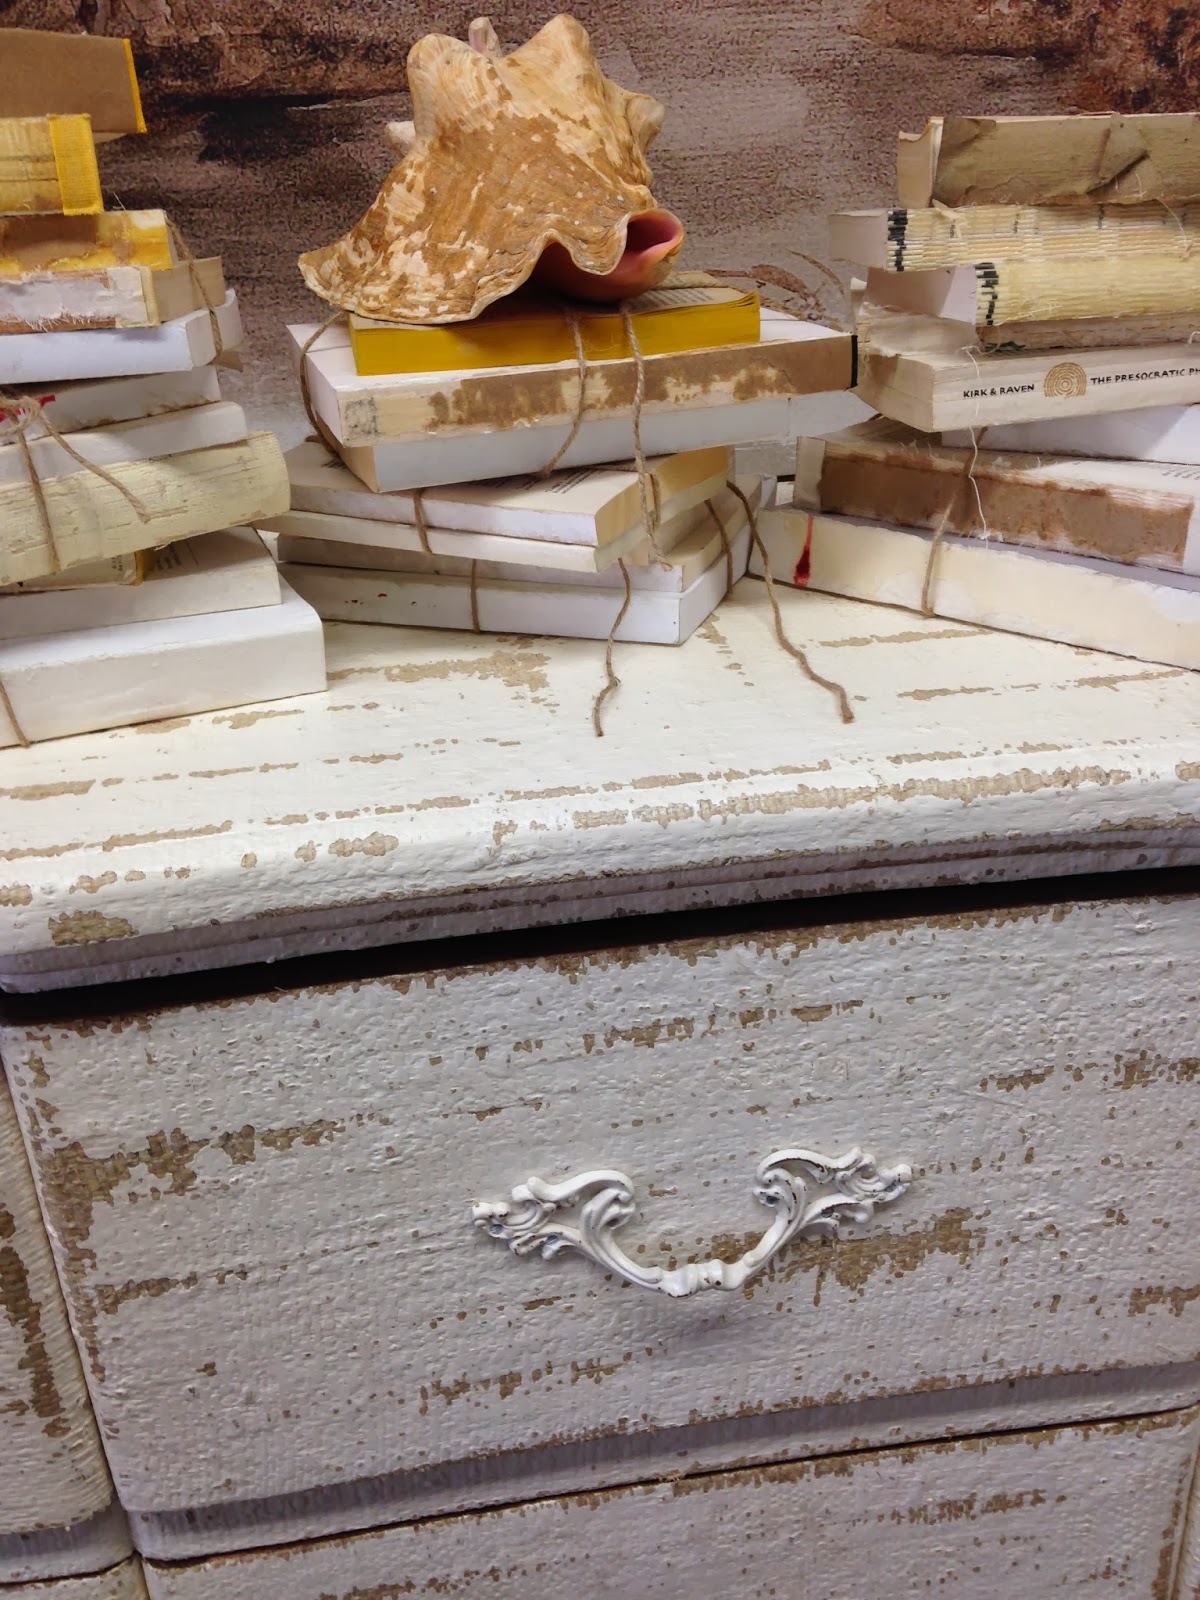
This dresser above is like my dream piece of furniture. This iPhone photo doesn't even give it justice. I want you to go to this store and just see this piece. You won't regret it. It appears to be a wicker piece that was painted and sanded or used the Vaseline technique. I just love it. 


Also those awesome pieces of artwork on top are perfect. The stacks are books with the covers pulled off. This gives a muted and nude look to the stacks as well as very worn and vintage. The store tied jute around the stacks to give them that cohesive feel and look. Also, sea shell, duh. That's awesome.


This next piece was hard to take a picture of since the store is literally head to toe furniture and decor. There are tables stacked on tables stacked on chairs. It sounds like madness, but it is pure bliss. 


This table is my inspiration for a FREE table I am scoring from my parents. They actually bought a super amAAzing table from this store, and had this smaller table they need to get rid of. I love the two tone look of black on white. I also love the glossy top. 

What do you think? Should I go another direction with my table? 

Do you shop consign and design stores? I would love to know. 


Tuesday, October 8, 2013

Free Inspiration Printable

Hello lovelies! I have great news today! After numerous interviews and applications, I finally have a job! I have been going to grad school online, blogging, and learning how to be married, but I have wanted a job to help make friends in Las Vegas and to save up for a house so Cliff and I can one day have a family! Cliff can totally support our family without my help, but I want to get out there and constantly be doing what I can to help as well.

I have had a hard time finding my job since I am still in school. I felt overqualified for some jobs and I didn't have enough experience for others. Honestly, job hunting is one of the worst things! I don't wish it upon anyone. It is easy to get discouraged, especially after getting turned down time after time and all that stares you in the face when you get home is a giant job application to fill out.

I received a call today at around noon letting me know I got a job!

During the LDS General Conference this weekend (if you aren't sure what it is, check out this site http://www.lds.org/), I was inspired especially by a poem President Thomas S. Monson quoted in his talk. I thought I would create a printable to put in a frame on my desk to look at every day. I then thought, why not share it with my awesome followers?? So here you go...


This is like my new motto of my life. I know I have faced some hardships in my life, but I know I would not be the woman I am today without a few trials. To know happiness, I have to know sadness. 

Download it, print it, and put it somewhere special! If you watched GC did you have any favorite quotes?? I am thinking of making some more printables. I would love to make a custom printable for any of you!

Follow on Bloglovin

Friday, October 4, 2013

DIY Fall Flag Banner

Fall! It's here! And I love it. 

Here in Sin City it's actually starting to feel chilly. Like when I say chilly, it's colder outside than it is inside. This NEVER happens. 

I started going crazy with this being my first fall with a home to decorate! 

I don't have a fireplace mantle to cover with pumpkins and cobwebs, but I do have this ledge that peeks out the kitchen to the living room. It was perfect for all of the decorations I wanted to put there. The only problem is I had none and a teeny weeny budget. So with a little craft party and thrift shopping, this is what you get...


Today I am going to teach you how to make the super cute flag banner for less than $1. For real. You don't want to miss this. 

What you're gonna need:

brown paper bag
sharpie
stapler
jute rope/twine
awesome background music (optional) ((but really necessary))

I started by cutting out a flag shape of the paper bag with some scissors. 


I then attempted cute handwriting and wrote a letter on each bag with a black sharpie. You are bound to have one hanging around the house. 


I took the edge and folded it down to make a hole for the jute to go through and stapled it. 


2 minutes later you are done. Now you can spend the rest of the night enjoying apple cider and a scary movie. During the really scary parts you can look away at your new homemade fall decor! I wrote "HAPPY AUTUMN" on mine so I can keep it up until Christmas, but you can write whatever your little heart desires. 


Happy Friday!

Follow on Bloglovin

Wednesday, October 2, 2013

October Time Crafternoon

October is here! Time to bring out the scarves, cardigans, costumes, and pumpkin flavored EVERYTHING! Okay, confession time.. I have been burning my B&BW Pumpkin Latte candle and eating pumpkin cupcakes, pumpkin doughnuts, pumpkin spice hershey kisses, and pumpkin cookies since the middle of September. I couldn't help myself! Even though the weather here in Las Vegas is still warm enough for me to lay out by the pool, I am trying to create my own season of fall. I can't get enough of fall and Halloween! Oh and Hocus Pocus! Can't wait to watch it.

So with that said, I thought I would share some of the October/Fall love with a quick crafternoon pumpkin tutorial. (What's a crafternoon you might say? It's simply crafting in the afternoon. Or any time really).


What you need:

Tacky Glue
Glitter
Plastic Pumpkins
Paint
Small Foam Brush


So my pumpkins started out looking like this. Not so pretty. Of course I thrifted them for cheap.

I started by cutting off the awful leaf and curly bit. I then used an old brush to paint on tacky glue. I used a paper bag underneath to reuse the extra glitter because when you're using glitter, it's gonna get messy. I went for a gradual ombre type look for this pumpkin.


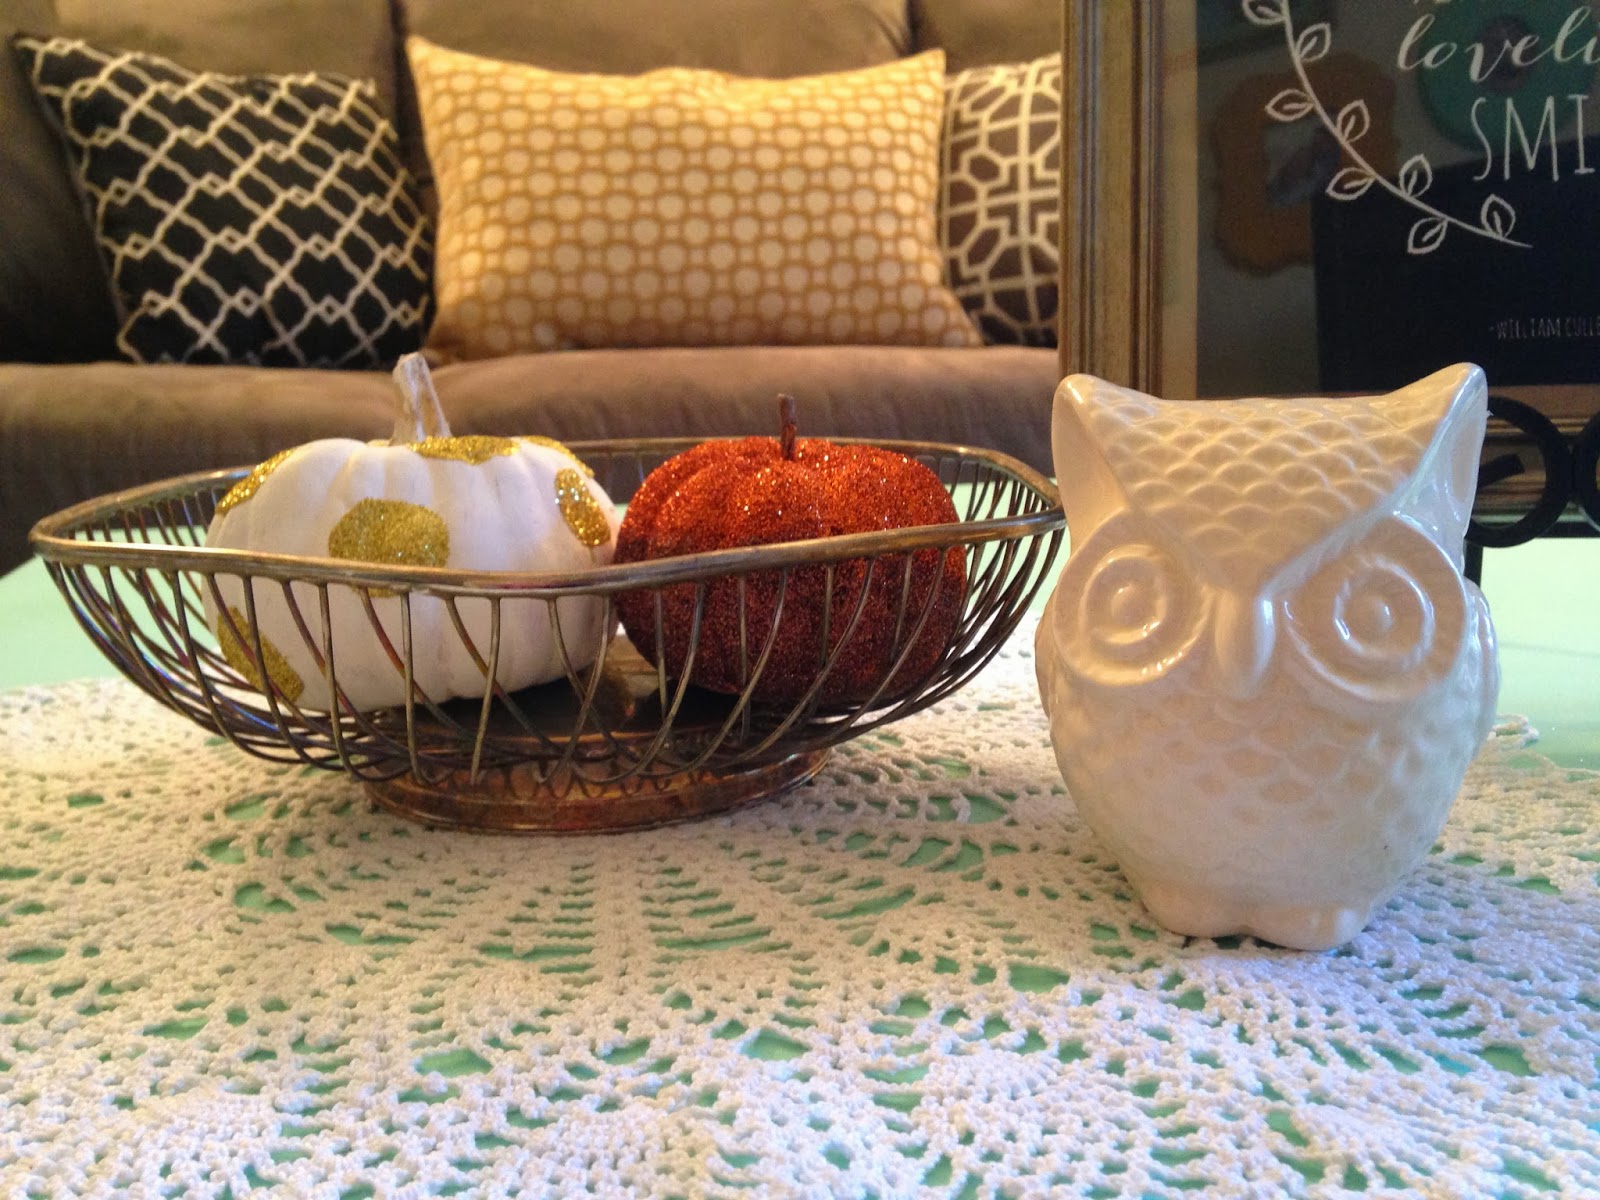
For the other pumpkin, pictures didn't really happen... My bad. It was easy enough to cover the pumpkin with a few coats of white paint. I then applied the tacky glue in a circle on the pumpkin, sprinkled with glitter, and bam.. Two chic pumpkins right in time for the holidays.


Stay tuned for more Halloween tricks and treats!


Follow on Bloglovin
Related Posts Plugin for WordPress, Blogger...