photo Home-01_zps4183128e.jpg              photo AboutJess-02_zps9efae9a4.jpg              photo Email-03_zpsfe60254d.jpg              photo Sponsor-04_zpsad5f9cd7.jpg

Monday, July 29, 2013

How to Hang your Frames


I have so many frames and no where to put them all! At least that is how I felt after my wedding. Cliff and I have a small one bedroom apartment and I was worried I wouldn't find enough shelves and tables let alone wall space to display all of our new pictures from the wedding and engagement. I have such a hard time choosing which ones to print off, so after leaving the photo store (aka walmart print center) I end up with more than I need. 

I have been a little intimidated to hang these pictures since I can hardly get one picture on the wall without having to pull out the nail and damage the wall a few more times before I get it where I want it. 

I finally decided to just go for it today. I first started out by choosing the wall I wanted to cover. Then on the floor beneath it, I laid out my frames how I wanted them. It's a lot easier to lay out the design before getting it on the wall and feeling stuck towards the end. 

I then flipped over all the frames exactly in their spot.

I then took my very wide aluminum foil and laid two strips across the back of the frames.


This allows a perfect indentation of each frame and the hook for where the nail should be. If you would like extra guidance, you can use a sharpie to mark around the frame area and and X to mark the nail hole spot. 

After outlining each frame, take the foil and tape it on the wall where you wanted to hang the collage. Make sure it's not too overpowering, and it's where you want it. Next hammer a nail into each X. I put up each picture after I nailed each nail just to make sure it looked spatially correct. 


It may look a little odd, but it did help me make sure each frame was in the correct spot. Just take down the foil, move any frames that need it, and there you go! A perfect gallery wall that didn't take crazy amounts of measuring and stress!


Enjoy!

-Jess


Make your Own Printable

Cliff and I had such a good weekend at my best friends wedding at the St. George Temple. There were so many cute things that inspired me to do more projects.

The first item I loved was a printable. I talked with the bride and she told me it was about $20 to buy the printable and then additional costs to print it off and buy a frame. Since I am a total cheapskate, I took a picture of the printable I loved and set off today to make a similar version for FREE. 

So here is a picture of what was on a table at Taylor's wedding reception. It's not the best angle of the picture since I mainly wanted a close up of the fonts and style. 


So here is my finished product. 

I think it turned out pretty nicely. Printable's can really add character and personality to your home. I suggest adding things that make you smile and remember happy times or inspire you. To find similar fonts that the original created, I went to some free font sites including dafont.com. If you are sick of the fonts on your computer, you may spend hours downloading free fonts to use. You can use these fonts in any program on your computer after they are downloaded. 

A simple way to recreate this printable without any fancy programs would be to make it just in a Word document. Type what you like, and play around with the fonts until it looks just how you like it. I personally used Adobe Illustrator, but any program that uses text would work perfectly. 

I plan on putting this in a photo collage in my living room. I will put up pictures when it's complete! 

Let me know what you think!

-Jess


Friday, June 28, 2013

DIY Chalkboard Key Holder


I know, I know, another chalkboard paint post. Right now chalkboard paint is something I want to put on everything. This will be my last chalkboard post for a while, but this holder turned out so cute I just had to share! Cliff and I live in an apartment where we have keys to the mail box, the gym, and the pool. It's so much fun living here, but we had a hard time at first keeping track of the keys, especially when they only gave us one copy and they look so similar. I thrifted this key holder for a dollar (I think they sell similar looking wood projects in the craft isles for not too much). 

It had some paint on it, so I gave it a light sanding so it would hold the paint. 


I used the chalkboard paint I bought at Wal-Mart for under $5 (I have used it on multiple projects) and covered the wood with paint. I did two coats just to make sure I got in all the small areas. 

Let it dry. (Is that even a step??)

\

And then I used a chalkboard pen to write which key was which. I tied my keys on a burlap ribbon just to make sure I won't loose a little key. (It drives my husband nuts but I think it's pretty cute). The nice thing about the chalkboard paint, is you can change the wording depending on which keys you want to hang up. 


Enjoy!

-Jessica

Wednesday, June 19, 2013

DIY Chalkboard Labels


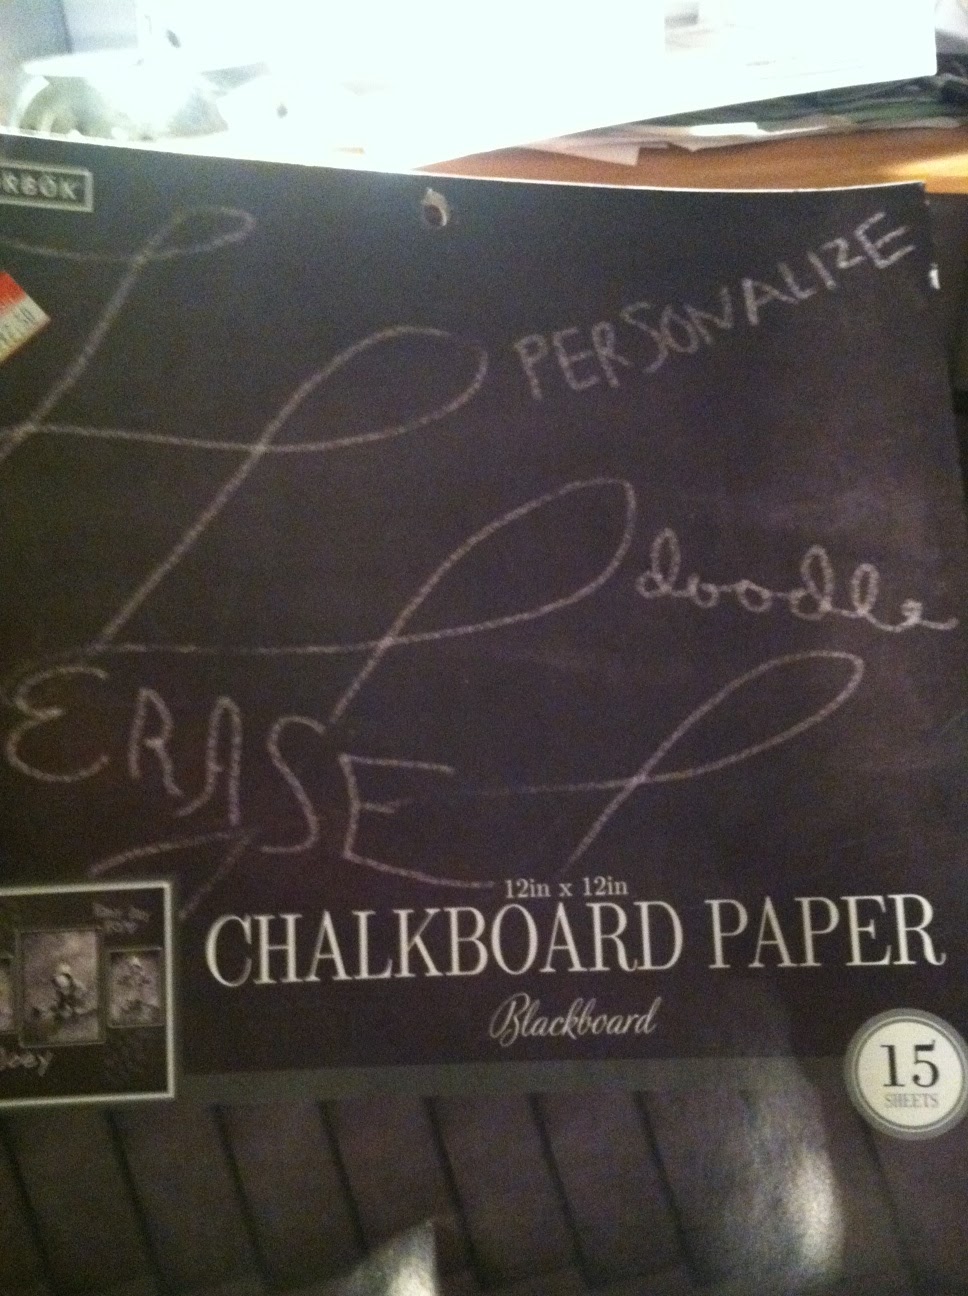
Good crafternoon! Today I am sharing on of my new favorite secrets... how to create your own chalkboard labels. Chalkboard decorations are so popular right now, and I love this trend! I just bought a new mail holder at Home Goods, and it seemed a little plain. I really wanted to add a chalkboard label, but after searching them online, $10 seemed a little high for this cute addition. I was shopping around for an alternative, when I scored a whole book of chalkboard paper (who knew this even existed?!) for $2.50 at Wal-Mart!!

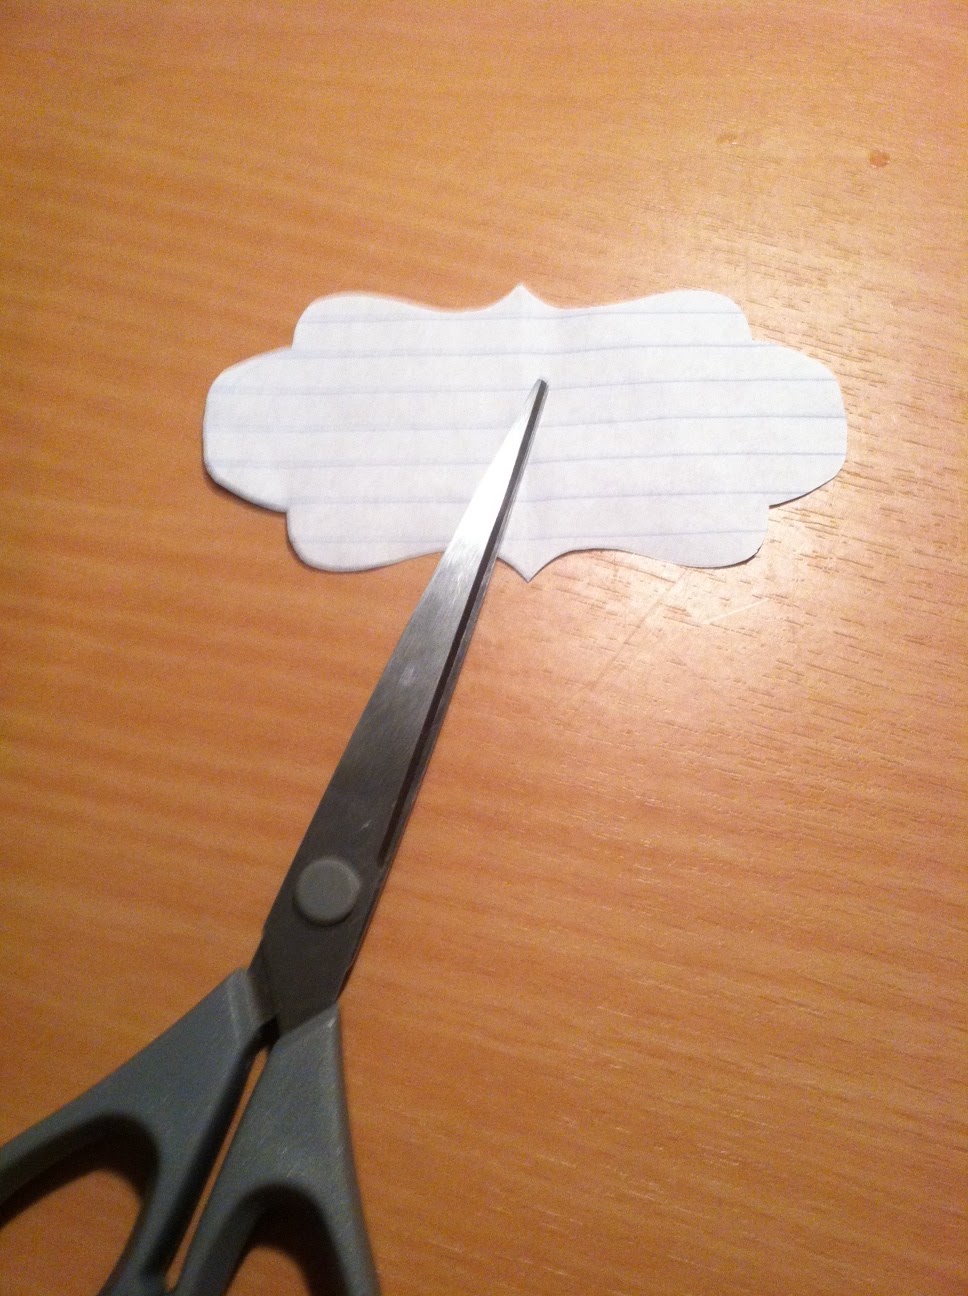
I came home and the wheels started turning for what I could do with this whole book of chalkboard paper. My first project was to spruce up the mail holder I told you about. I found a pattern I liked online and made a stencil.


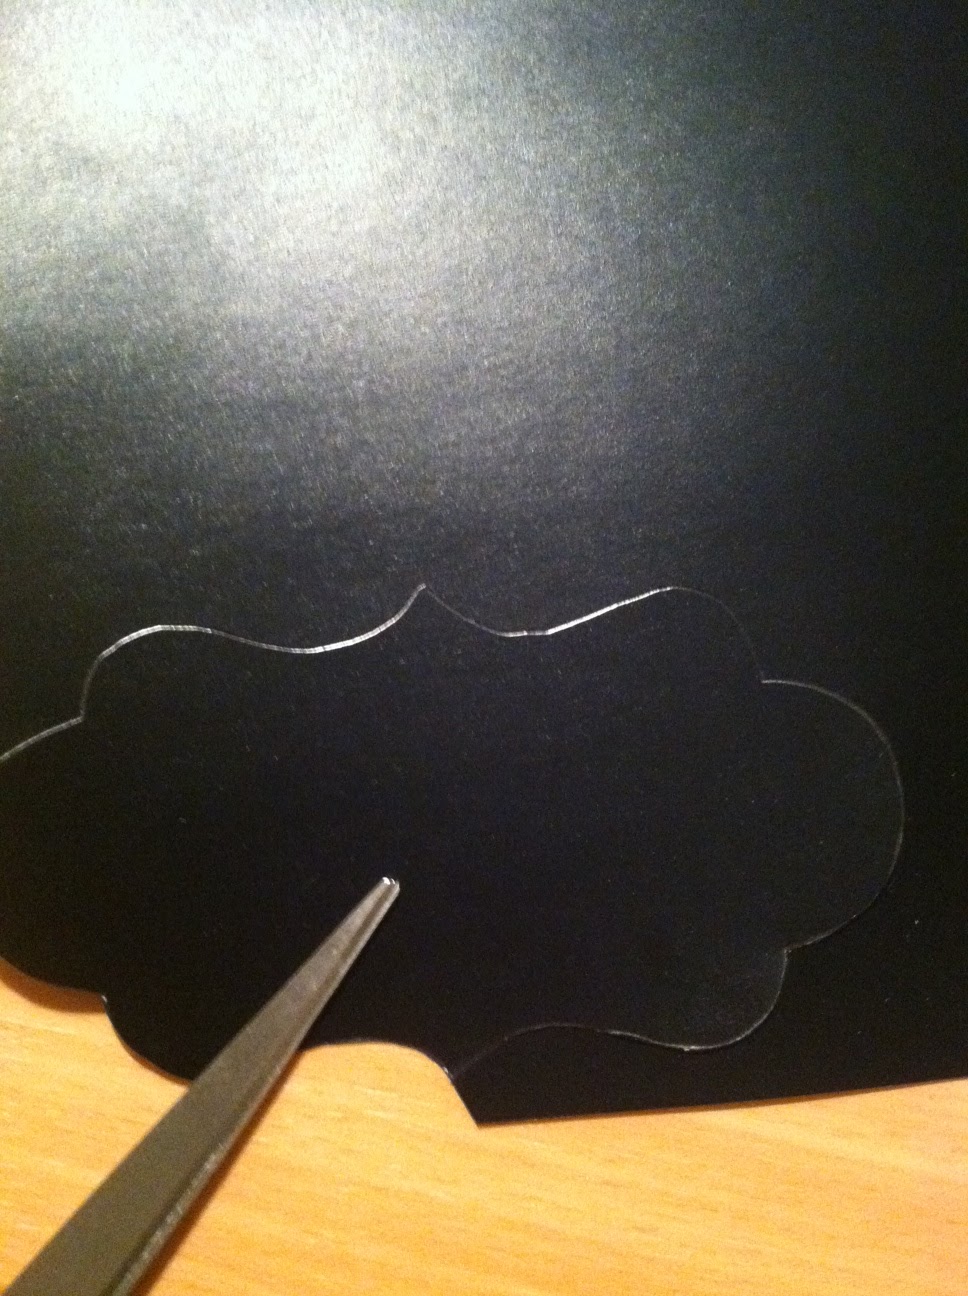
I then traced it onto the chalkboard paper. 


I cut it out, and bam, a chalkboard label. It probably costs less than five cents to make. 


I used a chalkboard marker I already had to write "mail" and attached it to the container. 


These labels would be so cute on flour and sugar holders, for boxes full of items in the kitchen or office, or even in the bathroom on different holders. You can create any shape you want, so be creative. Enjoy!!

-Jessica 


Friday, June 14, 2013

DIY Fashion Chair

Hello! Today I am going to give a tutorial on how I recovered a drab chair into something fab! I loved it so much after it was redone I used it in my bridal pictures, my wedding reception, and now it has a spot in my living room.


I found this beauty at DI for a steal! As soon as I saw how much character it had, I knew I wanted to recover it. After giving it the smell check, I bought it and kept it around for a while until I found the perfect fabric. I bought this white and gray pattern at Hobby Lobby for about $3 a yard. I bought some mint paint, foam brushes, and an upholstery staple remover and I was ready to go. 

I started by removing all the staples with the upholstery staple remover. Trust me, if you don't have one, go buy one. This is the hardest part. Don't give up though. You will have a fab chair if you just endure the staple part. 

Next I kept the fabric intact to use as a pattern. It's much easier to cut the pieces for the chair when you have something to go off. 

I gave the wood a light sanding so the paint would stick, and I gave it about 3 coats of paint. I had the paint from previous projects and it was pretty cheap so it needed quite a few coats. 

After it dried, I cut out the fabric, making sure the pattern would lay how I wanted it. Next you need someone else and a staple gun. My mom was there to help hold and staple. Make sure to pull the fabric tight so it doesn't pucker. Then staple. Repeat. On the back we reused the upholstery nails that were previously in the chair. The picture below from my wedding shows the upholster nails. We just used a hammer and our eye judgement to how many we wanted to put on the back. Overall I think it turned out pretty fab!


You can check out my photographers website, Lulu's Photography here. She did an amazing job capturing my special day! Hope you are inspired to recover a chair of your own. 

-Jessica 

Thursday, June 13, 2013

Free Kitchen Printable

Ok here is one more printable I have been working on today. I was inspired by another printable but it was $19 online. I made my own version and I am sharing it with you for free! Hope it helps to spice up your kitchen.


Enjoy! 

-Jessica

Free Printables

That's right. I said FREE. Now if you are like me, you love to score a good deal, especially when you don't have to pay a cent for it. If you are in a new apartment or home, you may want to add some color and decor, but might not have the money for it. I created this printable with one of my favorite quotes:


You can save and print it by clicking directly on the picture. Hope you enjoy! Also check out these other cute printables I found online. 


Dream Big download here.


Love Printables found here.

Enjoy!

-Jessica


Related Posts Plugin for WordPress, Blogger...