


It's only getting hotter in my neck of the woods. What happens in Vegas, stays in Vegas (and gets sunburned). Since I survived last year, I thought I would talk about my fav ways to beat the heat along with a collection of some random pictures from my life to go along with it. Just go with it.
10. Snow Cones- Surprisingly, snow cone shacks are few and far between here in the land of Las Vegas, but let me tell you they are worth the drive. Tigers blood with sweeten condensed milk or sour pink lemonade are my poisons of choice. The deeelicious taste and cooling sensation definitely earns it's spot on my list.

9. Swim- So you might not have a beach that looks like that, but swimming is a no brainer in the summer and especially if you live in Vegas, there are free pools everywhere! (This was from my honeymoon to the Dominican Republic... I want to go back!)


8. Movies- Cliff and I love a good movie and love the buttery popcorn even more. Movie theatres keep it extra cool in the summer months so if you need a break from running your AC unit on low all day, hit up a movie. If you live in Vegas, The Palms has $5 movie Mondays and South Point has $5 movie Tuesdays. I swear the movies are better when they don't cost as much. Speaking of movies, my eyes are still trying to recoup from watching The Fault in Our Stars. (The book was amazing too!). Here's the trailer if you haven't seen it yet.
7. Wait to Go Out After the Sun is Down- It is easy enough to find plenty of things to do around here after the sun goes down. If you live in a smaller town, have a fire up the mountains and roast some mallows rather than go out all day. Last year, Cliff and I hit up First Friday all the time. If you live in Vegas you need to go. There is local art, live music, and food trucks!

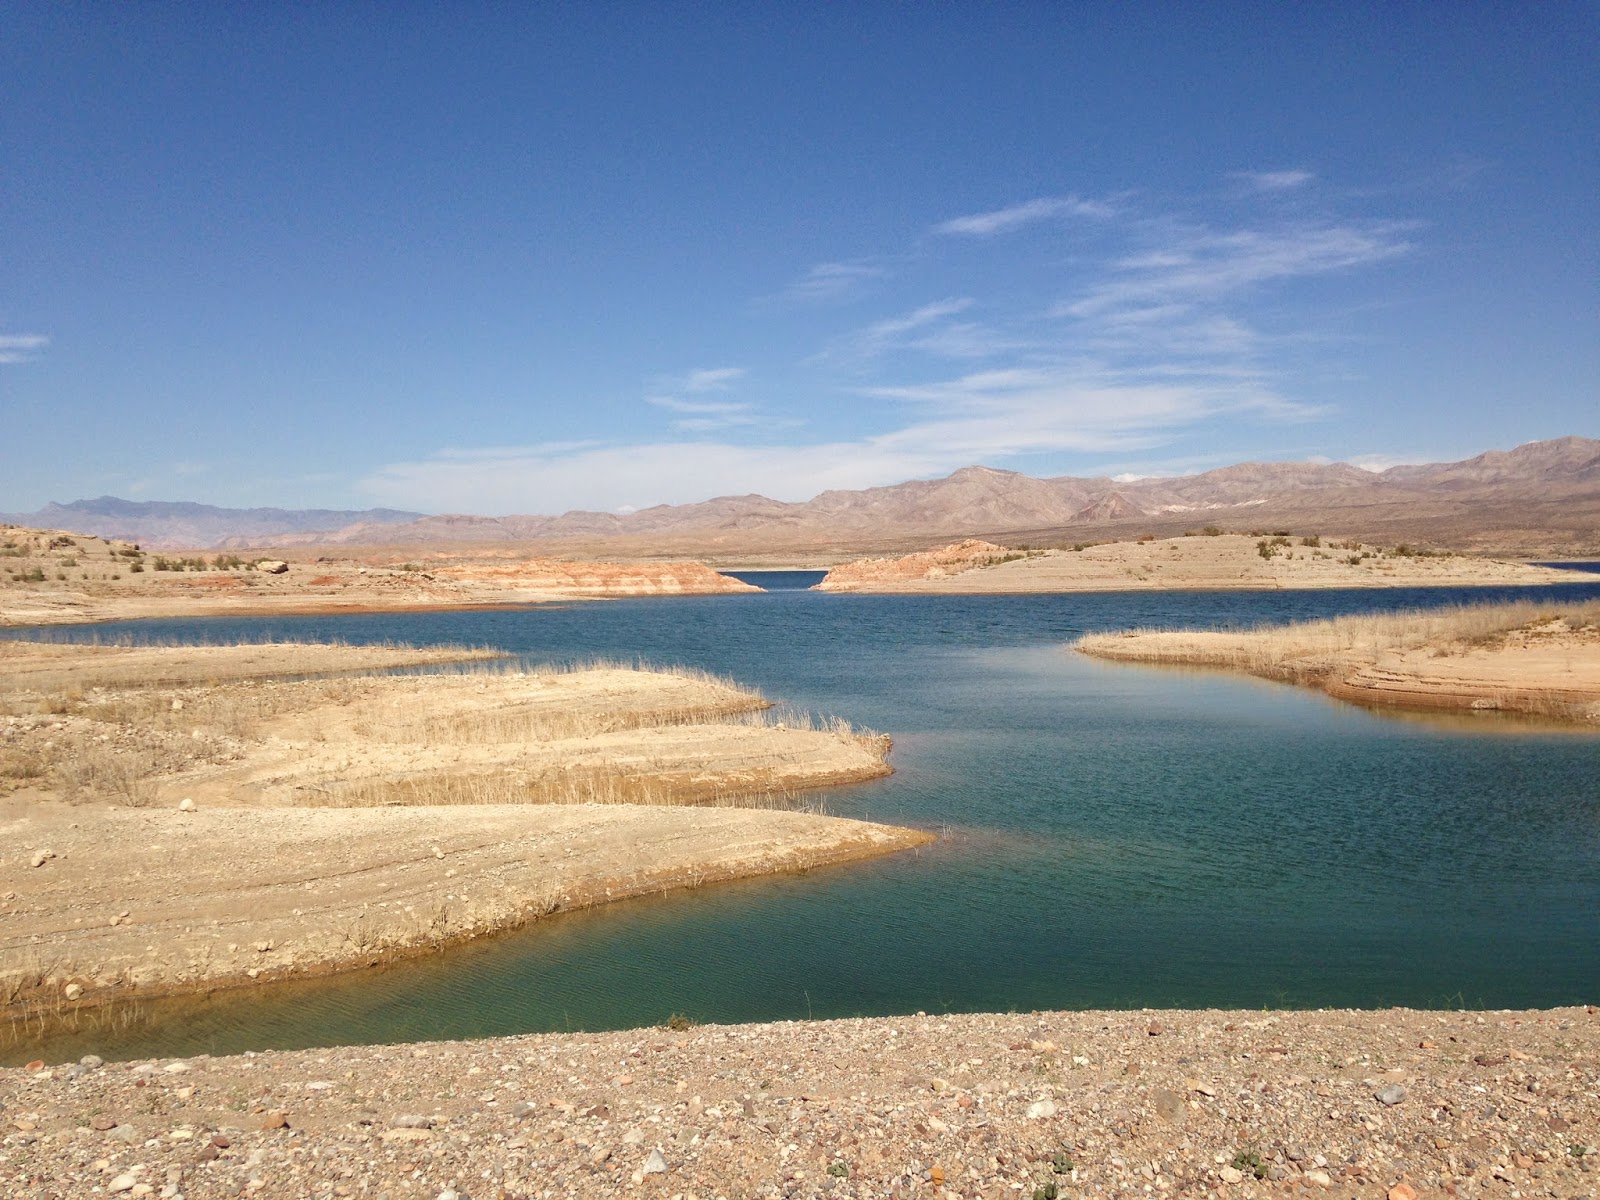
6. Go Camping- Heading up the mountains is a sure way to stay cool. We went with family to Flaming Gorge a month or two ago. (I wouldn't recommend here in the summer because it's pretty hot). There are tons of places to go camping and even rent camping gear if you don't own any.


5. Use your slow cooker- I can't emphasize how much I mean this. Our house stays so much cooler when I'm not turning on the oven to make dinner every night. There are so many delicious recipes to make in a slow cooker too! One of our fav's is french dip sandwiches from Pretty Providence. Less than 6 ingredients and you're good to go.
4. Go on Vacation- Cliff and I just got back from a cruise to Mexico for our one year anniversary. It was definitely a great way to escape the hot dry air of Las Vegas.


3. Make Don't Bake- Make some of those delicious treats you've been eyeballing on pinterest that don't require an oven. My fav is no bake cheesecake found here. I've been eyeballing lots of yumminess on my page as well you can look at here.

2. Rock the Dresses- My favorite outfit in the summer, a dress. Nothing better than a flowy skirt or dress to keep you cool. Even lightweight maxi skirts can be tied in a knot at the knee for a cute and cool outfit.

1. Invest in a Fan- Kinda self-explanatory.

How do you keep cool?


